Photographing natural light portraits and headshots can be one of the more challenging areas of photography, but by far the most enjoyable and creative in terms of what can be achieved.
There is so much to consider in terms of direction, quality and temperature of the light as well as weather factors like wind and rain. If you’re a busy photographer shooting outside it’s essential to find ways to work with each of these factors.
I started shooting with clients outside around 2006 after people started wanting colour headshots. At the time, I was disappointed with the limited results I was achieving with my lounge room/studio, which was setup for black and white portraits.
I went in search of some places to shoot, starting with the side entrance to my apartment and slowly expanding out of my comfort zone into the surrounding areas of the neighbourhood.
To be honest, it took me a few years to feel like I had a handle on the techniques, but clients were very happy and I kept getting work. This helped me continue to improve and as I got a feel for what worked in terms of the light I started to trust the results more and more. From here, the work started to flood in and I just knew I was onto something really special. Fast forward to today and it is now the go-to style for many headshot photographers plying the trade.
I’ve written a few notes to provide advice to anyone looking to explore this genre of photography. It should give you an idea as to where to start and what to look out for, as well as common mistakes to avoid.
I clearly remember a demoralising moment while on one of my first forays outside. I was taking shots for a director outside the Windsor train station in Melbourne when a stranger approached us and told me in no uncertain terms that the light I was using was terrible and I clearly did not know what I was doing. People can be brutal! I got through the shoot, persisted, learned and stayed in the game long enough to build my entire business platform on shooting using natural light.
So don’t get discouraged. We all start somewhere and it takes time to master your craft!
THE LENS & APERTURE
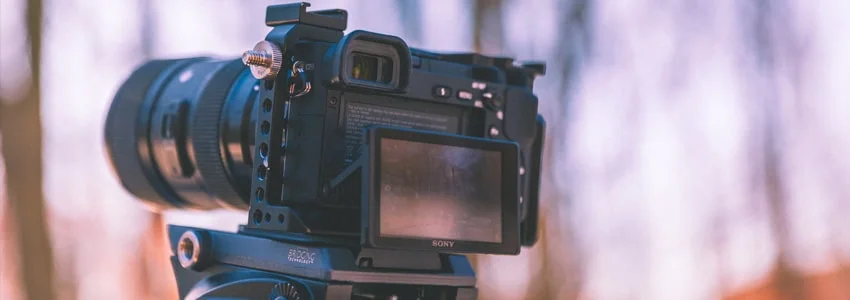
As a general rule you will want to start with a dedicated portrait lens with good quality glass and the ability to shoot at wide apertures, i.e. as low as F2.8. I use an 85mm Nikon 1.8d, which retails for about $500 and is huge bang for buck when wanting a great quality low(ish) cost lens.
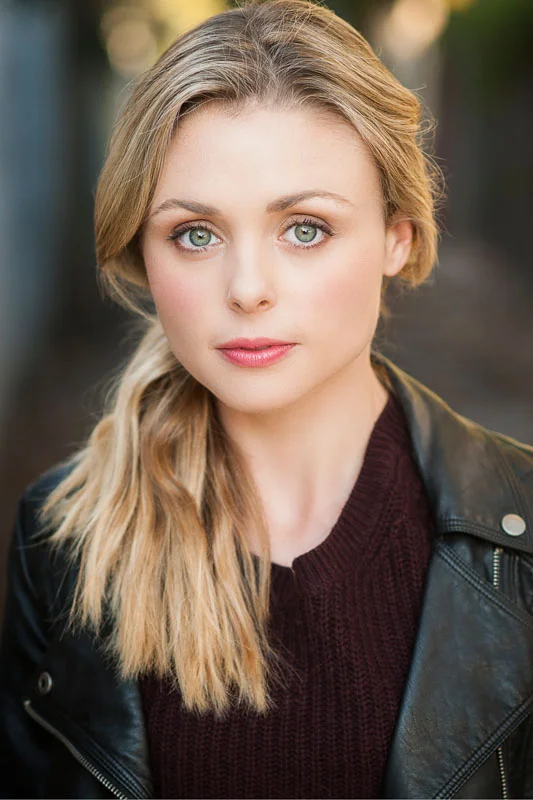
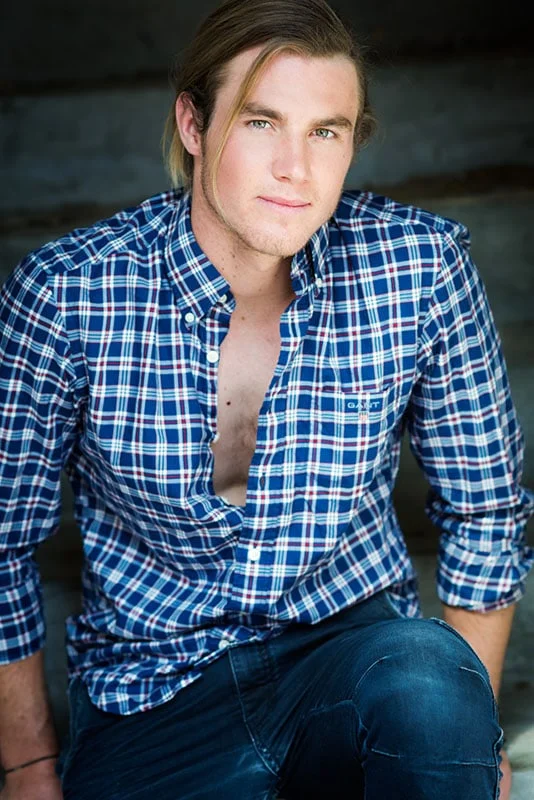
Although shooting wide open at F1.8 (or even 1.4 or 1.2 if if you have a lens that can do it) is creatively exciting and looks very filmic, a safer bet is to shoot at around F2.8 as this will still allow you to get both eyes sharp, especially if you nail your focus points. It will also give you lovely soft backgrounds and a filmic look through shallow depth of field.
A few pointers on how to use the light:
- You want directional light for best results
- Go down alleyways, under bridges or somewhere where there are structures present to shape the light coming in
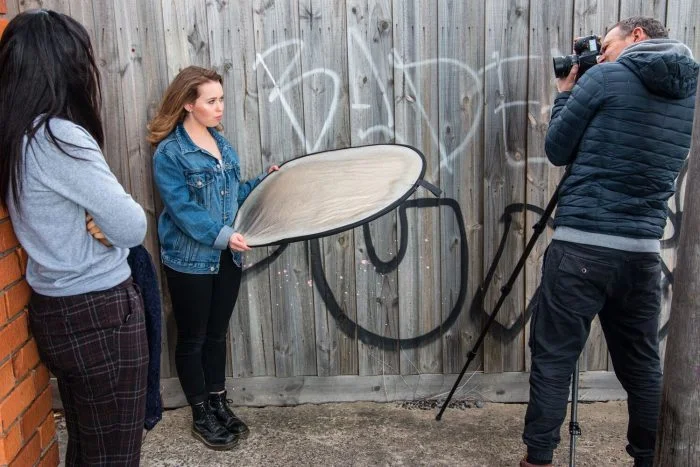
- Add some fill via a reflector, small battery powered light or speed light
- Don’t overdo the lighting too much, as this will ruin the photo
One of the greatest additions to our kit bag was a good quality gold/silver reflector. We bought ours from Profoto. It offers outstanding light quality and attractive catchlights. Lastolite also have great options available too.
What if it’s rainy and windy? Oh no!
This is challenging and you have to be prepared to work with it and not against it. With any luck you have clients who are relaxed enough to persist through the conditions, rather than head back inside to shoot, as the results you can get are breathtaking.
Below is one of my favourite shots ever taken. It was captured on a super cold, stormy and horrible Melbourne day. Try to find some cover from really intense wind so you can look after the hair and protect the clients eyes as well. Wait for breaks in the conditions. There is usually a cycle, allowing you to find its pattern and work between the bursts, most importantly keep your client happy and having fun. Tell them you’ve got your best shots in conditions just like the one’s you’re in, crack some jokes and just come across relaxed and in control. If you seem stressed they will pick up on it!

WHITE BALANCE AND COLOUR GRADING
The temperature of light is always shifting throughout the day and different times of year. Getting consistency is the goal here. Trying to understand a little about what is affecting the light is helpful, i.e. the colours around your shoot location, time of the day and the colour of the clothing the client is wearing.
Shooting with a grey card so you can balance things out in post production is a very good place to start.
I usually opt to shoot in 1 set white balance mode all the time (flash or shady setting works best for the look I like), then once in Lightroom or Capture checking it against the auto setting and customising it a little once you know your spots. This can mean cooling it down or warming it up and adjusting the tint.
Having symmetry and understanding of the grading will have your subjects looking healthy with vibrant skin tones, and avoid some ghastly colour issues where your clients end up looking too green, blue or red! You don’t want that.
OVERSHOOTING
This is a common topic, usually discussed on forums and it’s something I reckon most photographers will be guilty of at one point or another.
I shoot quite often and there’s something special when you know you’ve just taken that hero shot. The one that truly stands out. It can take some time working with the conditions and lighting to get in the right zone to take the hero shot.
Sometimes the light might be shifting around and you just want to shoot through it, but this can often be a mistake. If you start overshooting something that isn’t working then you’ll end up with a whole heap of poor, wasted photos. Try to shoot a fair amount of frames and trust yourself that less is more.
Taking great photos doesn’t mean taking thousands in a shoot. It just means observing the conditions, waiting for the right opportunity and ensuring the client is at ease.

